It's that time of year again, when then constant shower of red and gold quickly buries turf if left unchecked. Certain trouble areas, like the left-side bunker of number ten green, suffer the worst under this onslaught of leaves but no area of the course is safe. We have already begun removing and mulching at the highest volume we can muster.
You may have already noticed that, with the exception of 10 and 9 green, the ropes protecting our newly seeded expansion have come down. The leaf blades have now established themselves, and can resist light foot traffic. And with the root structure now in place, our young plants will be more inclined to stay in place rather than being pulled root and all out of the ground as they might have been when their roots were barely half an inch in length.
Let us not mistake better for best, or harder for hardest. These plants are still far more tender than the fully established turf that makes up the rest of any given green, and as such still require your care in dealing with them. Though they may not be susceptible to any amount of traffic as they were before, but they are still sensitive enough to be damaged by a twisting foot or repeated ware. Relief should still be taken when your ball comes to rest in these areas, and when they can be avoided by foot traffic they should be.
I have removed the ropes for the aesthetic gain of having them gone, but they will be replaced without hesitation should our seeded areas come under abuse.
Our tractor mounted aerifier worked on fairways all day without interruption.
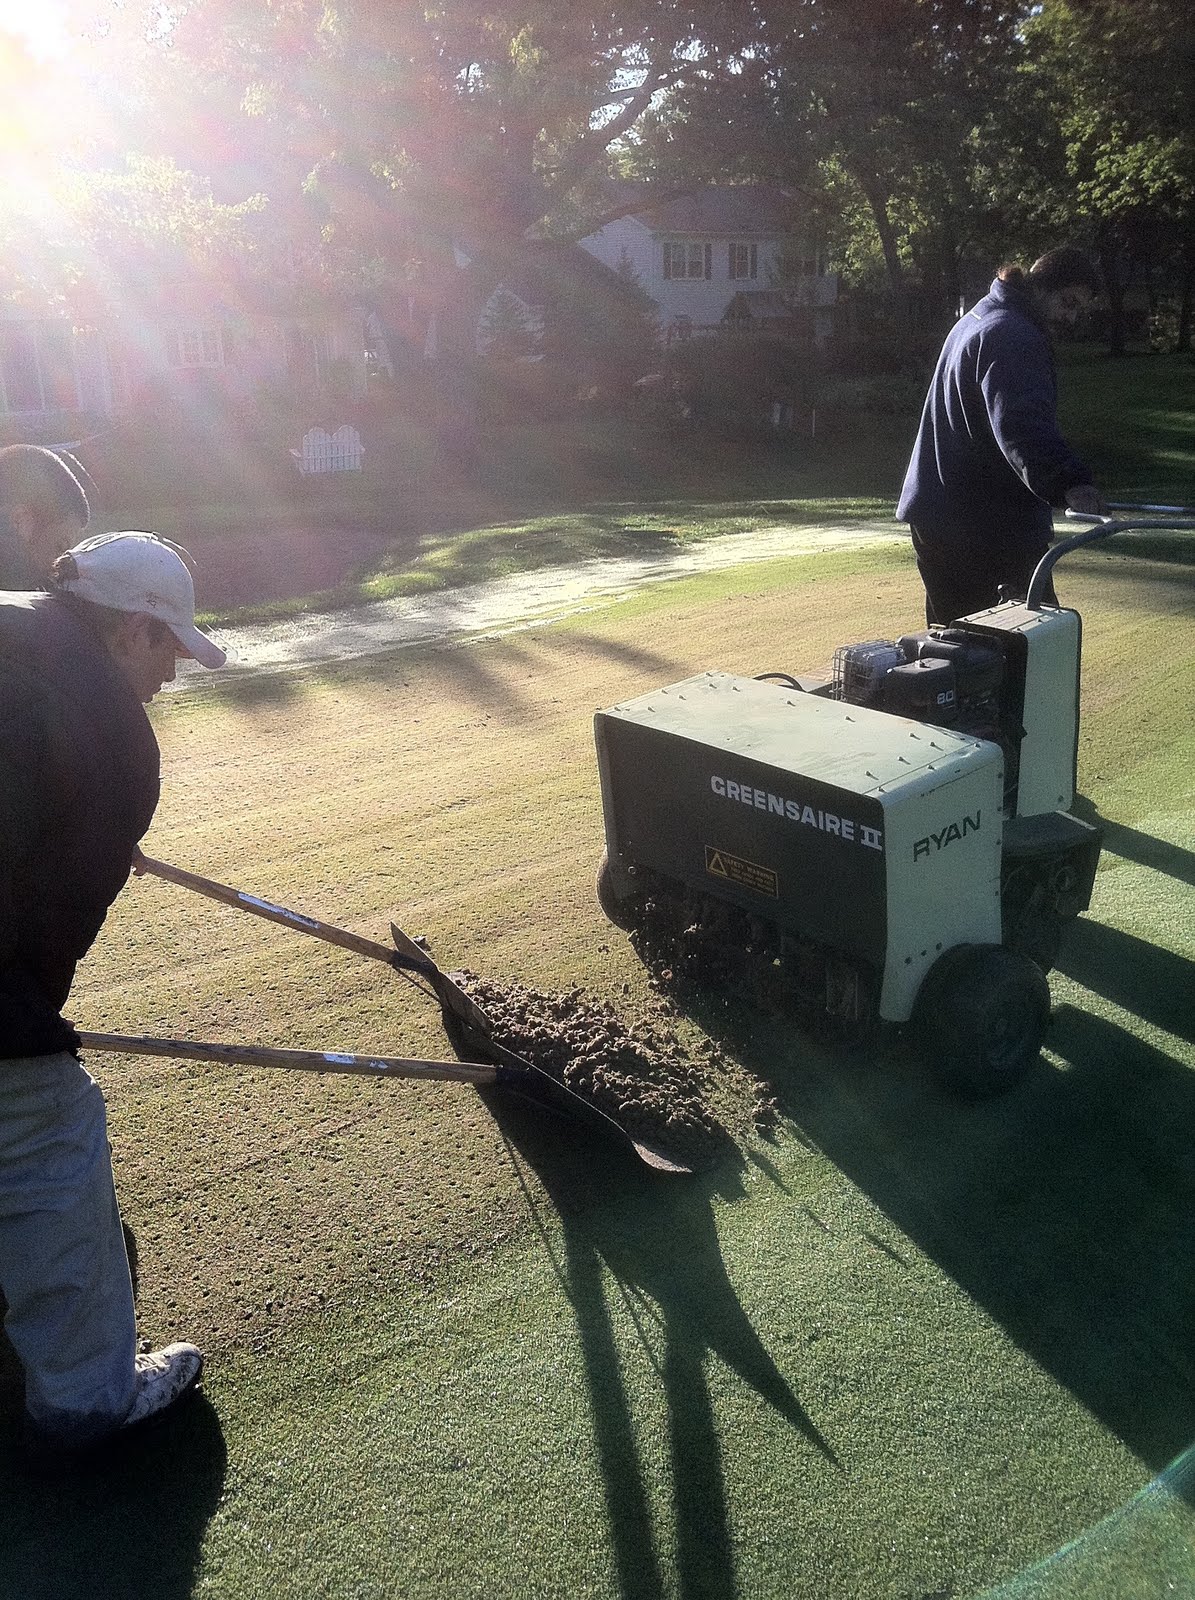
I'm sure most people don't realize just how much time the grounds department looses to Cress Creek's many outings. For anyone who's ever wondered what we do when we finally have the course to ourselves I thought I would share a couple pictures.
Our first leg of drainage for #2 Fairway
Yesterday, with the course closed and no outings scheduled we fertilized, aerified, and watered fairways. We also made good progress on number two fairway's drainage installation (though this is a project far from completion) and made protective applications to both the tees and greens. With tasks like spraying tees and greens and fertilizing fairways, having a a free Monday to complete many of them uninterrupted means you won't have to be interrupted by them later this week. Everybody wins!
~~The following is the C.D.G.A. scouting report as posted by Derek Settle, PhD~~
October 7, 2011 Scouting Report
It's October, It's Cloud-free: Enjoying Fall Colors and Indian Summer, Skunk Damage Means Grubs, Flowers Peak, and Tim says Sclerophthora macrospora
Chicago/Northern Illinois Update: Derek Settle
So, it looks like I may have been out of town? You would be right and I missed some of the best weather the Chicago environment has seen all year. All I can say is rats! Soil temps are now below 60 degrees and root growth, of say creeping bentgrass, is now unencumbered by "supraoptimal temperatures". Many of our issues related to cool-season turfgrass, and for that matter landscape ornamentals, are root-related. Yet, we still have a poor understanding of roots, root diseases and root growth dynamics. When soil temperatures rise above 70 degrees we have real trouble maintaining root biomass due to a natural physiological decline. Now we are enjoying optimal root growth - these periods occupy a relatively short window in spring and fall.
What else? Chicago's ash trees are now peaking in color while most maples and oaks have yet to do their thing. Chlorophyll, the green pigment in leaves, gets denatured as we experience cooler evening temperatures. Meantime, the reddish anthocyanins attached to sugars continue to accumulate in the leaves. It won't last long as senescence of leaf petioles is up next. But, for now it's all about yellow, orange, red and even purple. Did I say I like it yet? I do.
Take a look at the picture I snapped on the course yesterday, I thought it was something everyone should see. These are two samples taken from the same green. The difference? The upper sample was taken from one of our expansions- only weeks old. The other was taken from the main body of the very same green which has had years to establish itself and thrive. Samples like this are held together by the roots of the turf growing in them. The more roots, the longer a sample will be.
As so much of these last few weeks were spent discussing aerification, I thought a step-by-step explanation of exactly what we do during this time could be helpful to everyone. Please let me know if you have any questions!
Step 1: Core
The coring process is completed with one man walkers that must be guided across every square foot of the putting surface. These machines have multiple arms, that end in a total of twelve tines specially designed to remove material. Once driven in the ground they come up with small cylinders of turf, sand and soil called cores. These are then removed from the green by a a shoveling crew. This step is by far the most laborious and time consuming of the entire process.
Step 2: Topdress
Sand is spread heavily over the entire green. This is a type of sand meant especially to be used as a root zone. "But weren't we removing sand during our expansion project? Why are we putting it back in?" Yes, we were removing sand during the expansion. However, the sand we were removing was installed on mass in a single area. It was never amended and had no organic or soil content- which, in addition to the layering problem pure sand on clay caused- is why it eventually became a problem. The sand we are adding during this process is being added in small amounts across the entire green. Because of this the sand will work in conjunction with our soil profile and gain organic content from the layer of thatch that we have already established.
Step 3: Broom
The sand is then pushed into the holes through a process called brooming where a heavy duty broom is pulled behind a golf cart across the topdressing surface. Most holes will be filled by this process.
Step 4: Blow
Now we use a machine made up of a turbine with an attached nozzle to direct airflow to help force sand down into the open holes as well as to help open any holes that may have begun to collapse. This will also disperse any extra sand to other areas that might need it. Once We've made sure that all holes have been filled we will use the blower to evacuate all excess sand from the putting surface.
Step 5: Fertilize
Sometimes you have to be cruel to be kind (in the right measure), and even though the aerification process may offer a lot in the way of plant health long term, here and now damage is still being done. To help the turf heal and knit together through our aerification holes, we follow up the process with an application of fertilizer.
Step 6: Water!
Also applied to help the turf bounce back, but it also brings with it the ability to wash fertilizer into the soil profile where the roots can have access to it, as well as any remaining sand that may be left on the surface.
~~The following is the C.D.G.A. scouting report as posted by Derek Settle, PhD~~
September 30, 2011 Scouting Report
Of 144 Years, We're Record Wet: Enjoying Fall Colors, Yellow Tuft of Bentgrass, Dollar Spot Ends, and Tim Tim says Mesotrione and Kentucky Bluegrass
Chicago/Northern Illinois Update: Derek Settle
As seasons go, I really like fall. I said that recently to a friend and was then reminded that our favorite season is sometimes just the one in which we currently find ourselves. I said, "Ok! Fall is my favorite!" As far as the seasonal life of plants go, we now have begun to move quickly. More and more, fall color has appeared in the landscape. The larger color palate now extends to lawns where tree leaves have begun to appear. In my neighborhood this week, I would see my favorite honeylocust trees give up about half their leaves - helped by 45 mph winds on Thursday afternoon. Oh, and at work I've begun to admire a couple of woody ornamentals I've otherwise walked by - white fringe tree, Chioanthus virginicus, and downy serviceberry, Amelanchier arborea. Currently, Chioanthus is a clear yellow and Amelanchier is a nice reddish-orange.
As far as turf issues go, you won't hear many complaints from the land of cool-season turf. Our current soil temperature is optimal (roughly 60° at 2 inches). Also, our high/low values all week have been 60° by day and 40°-50° by night. Now that's nice! Lingering dollar spot has quickly faded now that nights are cool. Instead of plant health, talk this time of year focuses on course projects. "Glad aerification is complete and everything healed up. Working on leveling tees, next week we begin work on drainage for greens." On the last day of September...no complaints.